Stitching using a sewing machine can be easy or daunting, depending on how well you learn the basics of using the machine. As a new sewer, to start stitching, there are several basics that one needs to know or learn. These basics include the sewing machine parts, how to set up the sewing machine, stitching preparation, threading, and finally, start stitching. There are different types of stitches, including straight and zigzag stitches. This article will provide you with steps on how to start stitching on a sewing machine.
How to Set Up a Sewing Machine?
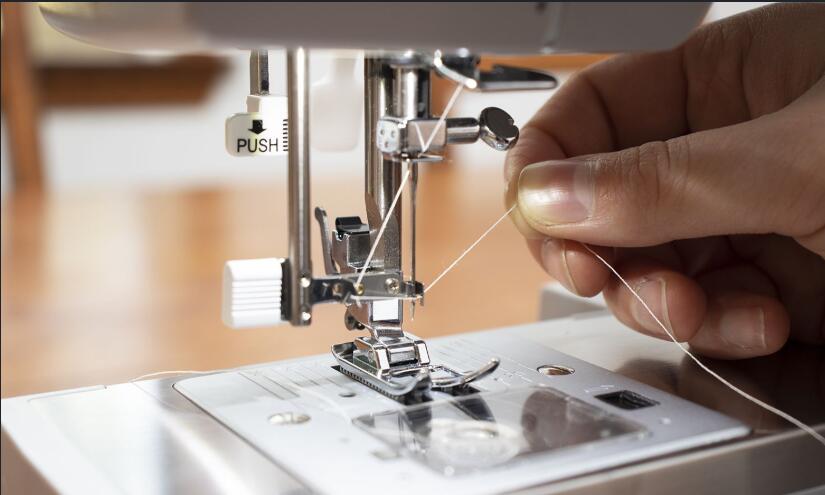
1. Machine positioning.
The first step is to place the machine on a sturdy desk and then sitting on a chair with a comfortable height. Then position the machine in a way that the body end is on the right side while the needle end is on the left.
2. Mount the needle.
To mount the needle, you need to consider two things, the flat side of the needle and the groove direction. When installing the needle, the flat side should face backward while the groove faces the direction where the needle will be threaded. After inserting the needle correctly, tighten the thumbscrew to secure and maintain the needle position.
3. Wind the bobbin.
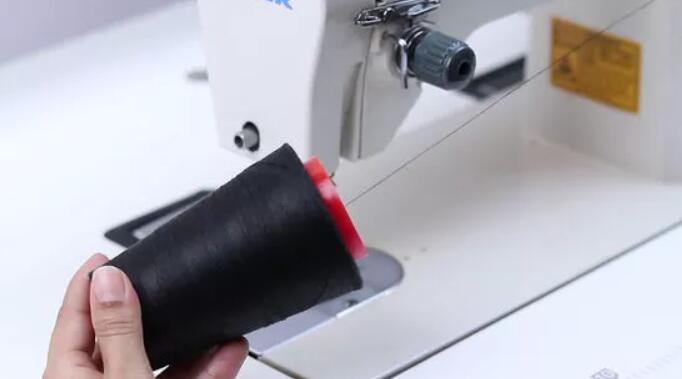
A sewing machine uses two threads, bobbin thread from below and the top thread. This step involves placing the bobbin onto the bobbin winder, usually located at the top of the machine. Then wrap the thread around the bobbin through the thread guide and then switch on the bobbin winder. The bobbin winder automatically stops when the bobbin is fully threaded. Then place the bobbin back to its position, follow the manual instructions.
4. Thread the machine.
The thread spool is usually placed on top of the machine. To thread, unwound the thread, and follow the thread guide on your machine through the takeup lever and finally to the needle.
5. Get the two threads.
To stitch, both the bobbin thread and the top thread should be together and just below the needle and placed towards the back. To get the bobbin thread, firmly hold the top thread with your left hand and then turn the turning wheel with your right hand to make a complete needle revolution. To get the bobbin thread, pull the top thread up.
6. Switch on the machine.
Finally, the last step is to plug in the machine to the power source and switch it on.
How to Start Stitching With Your Sewing Machine?
After knowing how to set up the machine and setting it up properly, then the next step is to start stitching. There are so many types of stitches, including straight and zigzag stitches, but for a start, it is good to start with the most common stitch, the straight stitch. To start stitching, it is advisable to start with a piece of sample fabric. For a start, this article will provide you with the steps of how to start stitching a straight stitch.
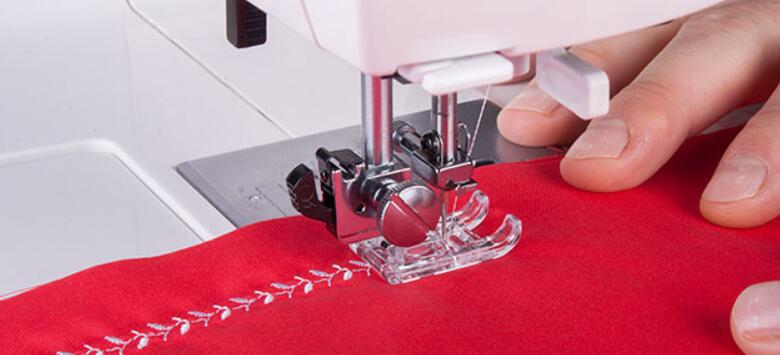
1. Choose your fabric.
There are many different types of fabrics, but for a start, you can choose cotton. Cut the fabric into a long strip and then fold it at the half-line to make a crease.
2. Set a straight stitch and a medium stitch length.
The second step is to set your machine to straight stitch and a medium stitch length. To set the two, you can use the machine user manual as different sewing machines come with varying settings. Generally, the straight stitch is usually the first stitch on the machine, while a medium stitch length is 2.5 or 3.
3. Set the needle.
Usually, the needle should always be at the highest position while starting and finishing. Also, make sure that the presser foot is in the upper position.
4. Position your fabric.
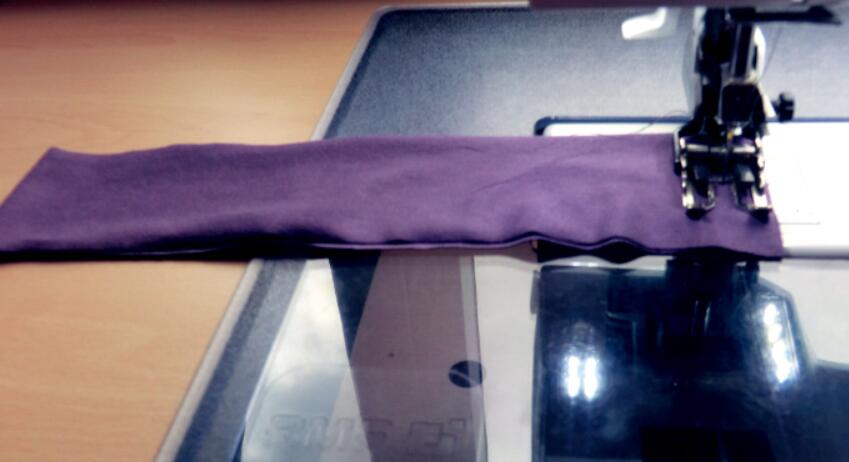
The next step is to carefully position the fabric under the needle. Ensure that the needle target on the fabric is just near to the crease. Lower the presser foot to help hold the fabric into position with the needle. It also helps the feed dog to continuously move the fabric as you sew. In case of difficulties when placing the fabric in line with the needle, you can lower the needle using the handwheel.
5. Position your fingers.
After setting the fabric, carefully place your fingers on the fabric, to help guide the fabric as you sew down the stripe. Finally, gently press the foot pedal to start stitching.
6. Stop the machine.
After stitching the stripe all the way, release the foot pedal to stop the machine and the needle. Make sure that the needle is in the highest position, then raise the presser foot. Finally, slowly pull your fabric from the machine and cut the treads. Make sure to leave the two treads together and hanging backward about 6 inches.
