
Recently, the embroidery machine has been blowing up a wave of people, and more and more people are in love with the embroidery. Many people choose to use embroidery machines to embroider unique letters on their fabrics to make them look different. But what if you only have one sewing machine and want to embroider on your clothes like them?
Don’t worry! Today we have prepared a detailed tutorial on how to use the sewing machine to embroider letters. Whether you have an old sewing machine or a multi-function household sewing machine, you can find the right guide for you.
Material Preparing
- Embroidery fabric
- Sewing needles
- Thread
- Scissors
- Sewing machine
Vintage Sewing Machine Embroidered Letters Tutorial
Step 1
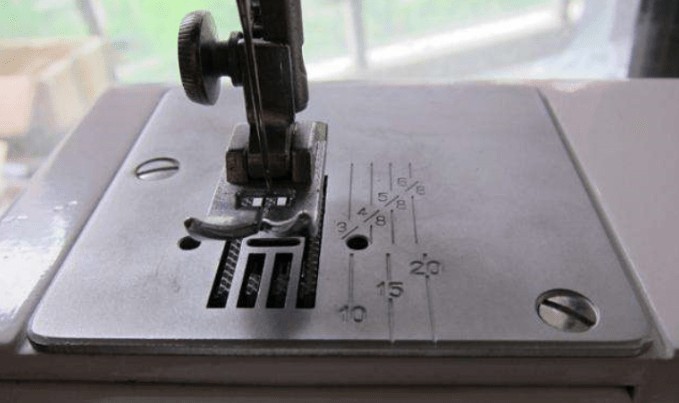
Before using the old sewing machine to embroider letters, you need to remove the presser foot and presser foot screws, pull the push plate, and then install the embroidery plate to aim the machine at the hole on the quasi-embroidered plate. This is the first step for a vintage sewing machine to embroider fonts.
Step 2
Select the letter pattern you want and scale it to fit the size of the embroidery fabric. Of course, it’s best to use the ink that matches the color of the stitches you’re going to use, so you won’t be confused in the process of embroidering the letters. Cut the edges of the pattern and attach it to the fabric to be embroidered by using bead needles. In addition, you can also draw the letter pattern you want directly on the fabric.
Again, this is also equivalent to the preparation of the sewing machine before embroidering.
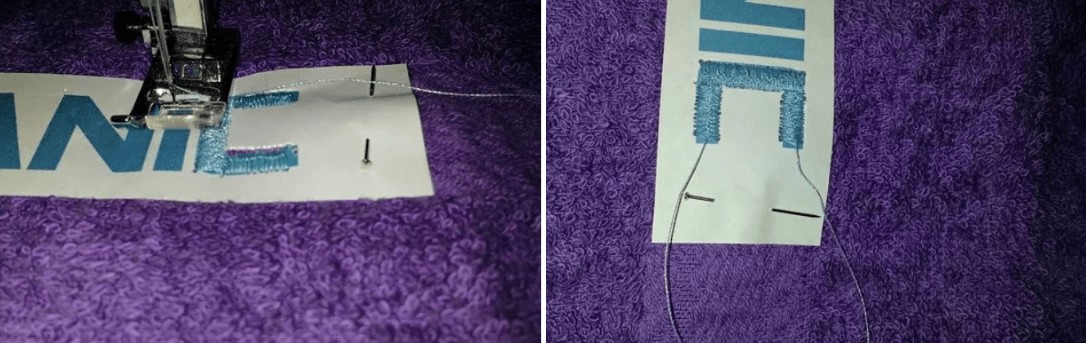
Step 3
Stretch the fabric on the embroidered hoop, the bottom thread is tighter than the general sewing, and adjust the tightness of the upper thread according to the thickness of the thread and the embroidery material. In general, the upper thread should be looser than the bottom line and embroider letters with a 9 or 11 needle;
When embroidering, place the hoop on the embroidered board, put down the presser wrench, pull out the bottom thread, and hold the hoop by hand to move according to the pattern on the embroidery. The speed of the movement should match the movement of the needle to avoid breaking the needle.
Tutorial On How to Embroider Letters with A Multi-function Household Sewing Machine
Step 1
Some of multi-function household sewing machines have drop device because of different model specifications. If there is a falling device, you need to drop the feed dog before embroidering. For sewing machines without a drop device, the machine usually comes standard with an embroidery board. You only need to fasten the embroidery board to the needle board. Then remove the presser foot holder and install the embroidery foot.
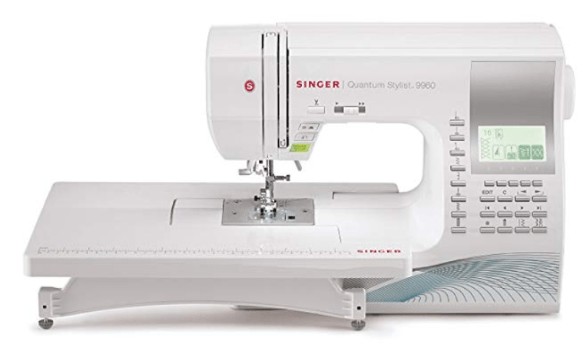
Click to See the Price of SINGER | Quantum Stylist 9960 Computerized Portable Sewing Machine
Step 2
The same as the second step of embroidering with old sewing machines. In fact, this is a common preparation before embroidering with a sewing machine.
Step 3
Primary straight embroidery method using a multi-function sewing machine
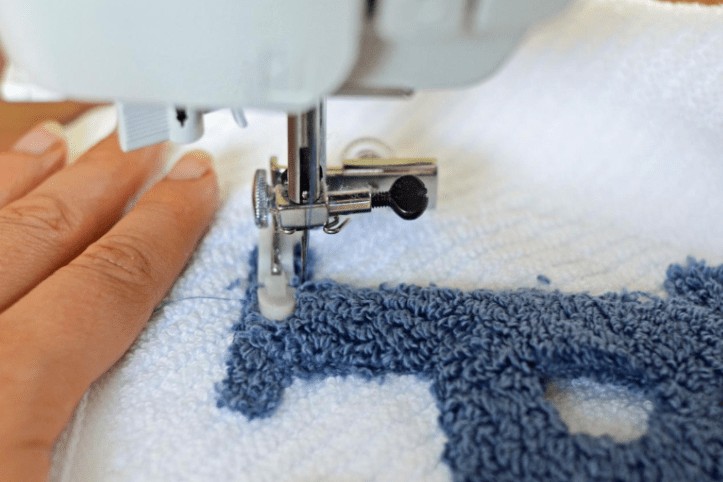
Firstly, you need to adjust the stitch width to match the selected font. Before that, you can practice splicing the thick lines and adjusting the stitch width on some waste fabrics until you find the one that suits you. You need to choose as small a stitch as possible so that the letters you embroider will look more refined.
Then, the fabric with the pattern fixed is placed in the machine. Carefully lower the needle and adjust the position of the paper and fabric until the needle is at the glyph port.
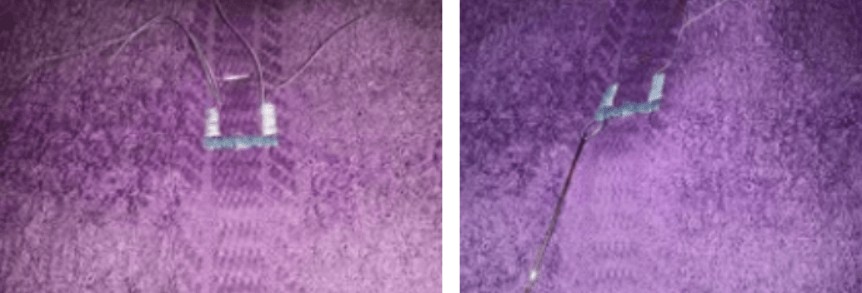
Embroidery starts without pulling the fabric. When you reach the end of the letter line, lift the needle and pull the line out a bit.
When you embroider a letter like Q, you can lower the line and then turn to continue stitching to embroider a smooth curve.
Step 4
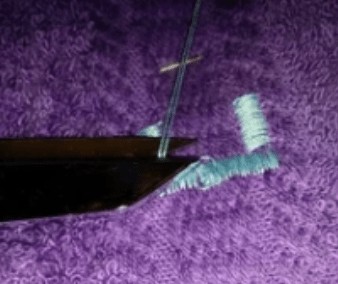
Hide the ends of the thread
You can thread each end of the thread embroidery into the ordinary needle and pull it to the back of the fabric, where there is a second line that corresponds to each line.
When the thread is pulled back, you can tie it to its accompanying thread, then pass the needle through the eye of the needle and pull over a portion of the letter stitching, which effectively prevents the knot from unraveling.
Cut off the ends of the line, you will repeat this step several times, but the final result is outstanding.
Step 5
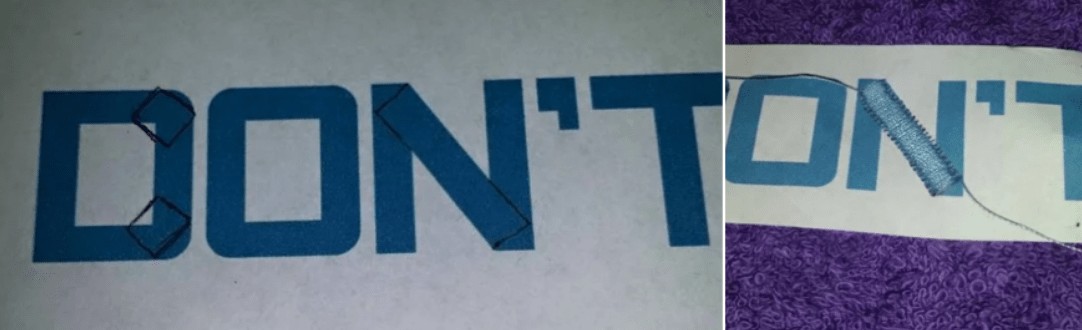
How to embroider the corner?
The point to complete this step is to draw an extension of the letter lines, so you know where the angle starts and ends. This step will ensure that when you add other stitches, the letters can be completely filled. You can embroider the corners of the letters first, then embroider the rest parts of letters as usual.
Conclusion
In today’s article, we mainly introduced you to how to embroider letters by using old sewing machines and multi-function household sewing machines. I hope that after reading the article today, you can also embroider the unique letters that belong to you on your clothes.
Finally, we have a small video about how to embroider words with a sewing machine. We hope you can like it.